Installation
Applies to version: Version 6.x
The installation of SimpleSYN requires only a few steps. A wizard will guide you through the installation.
To install SimpleSYN on your computer, follow these steps:
- Start the computer on which SimpleSYN is to be installed
- Download SimpleSYN in the download area
- Start the installation of SimpleSYN with a double click on the downloaded setup file (“SimpleSYN.exe”, “SimpleSYN_Business.exe”)
- Follow the installation instructions
Upgrade
An existing SimpleSYN installation will be replaced by the installation.
Note about upgrading from version 5:
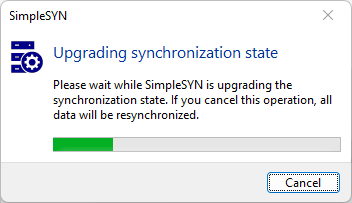
All data is transferred during the upgrade from version 5 to version 6. The data transfer and the updating of the synchronization status takes place automatically during setup. Please do not cancel this process, otherwise all data will be resynchronized.

When upgrading from older versions, SimpleSYN must be set up again. The initial synchronization will be run through once again.
How to Unistall
To remove SimpleSYN from the computer, close Outlook® and SimpleSYN.
Windows 11:
- Select the Windows Start button and then go to "Settings > Apps > Installed Apps".
- Locate the entry "SimpleSYN" and click "Remove" or "Uninstall".
Windows 10:
- Select the Windows Start button and then go to "Settings > Apps".
- Locate the entry "SimpleSYN" and click "Remove" or "Uninstall".
 Administrator rights are needed for the installation of SimpleSYN.
 SimpleSYN has to be installed on all computers to be synchronised with each other.